This tutorial assumes you’ve already created your new email account in SiteAdmin or cPanel.
Now let’s learn how to setup that new email account in Outlook 2013, so you’ll be able to send and receive emails to and from that new email account.
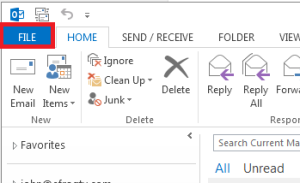
1) Open Outlook
2) Click File
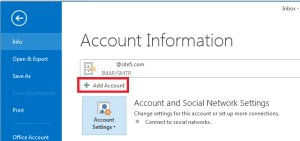
3) Click the Add Account button
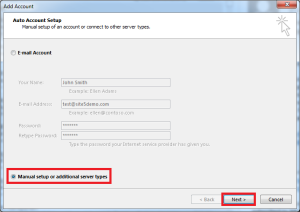
4) Click Manual setup or additional server types, then click next
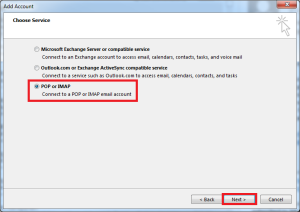
5) Click POP or IMAP, then click Next
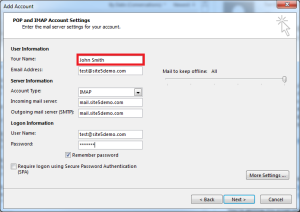
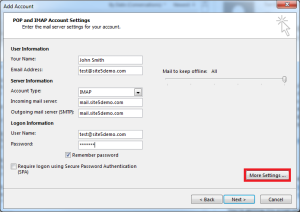
6) Enter your name
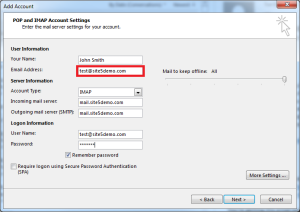
7) Enter your email address
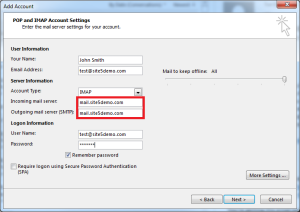
8) Select the account type you wish to use. We will be using IMAP for this demo.

9) Enter the incoming and outgoing mail servers. On a typical setup, this is mail.example.com where example.com would be replaced with your actual domain name.
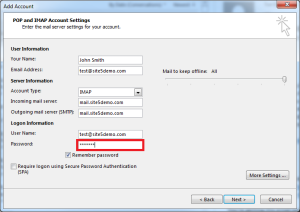
10) Enter your email address into the User Name field

11) Enter your password
12) Click More Settings
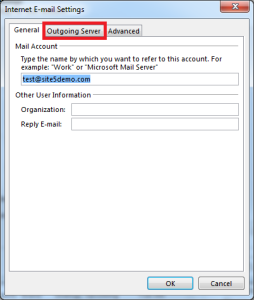
13) Click the Outgoing Server tab
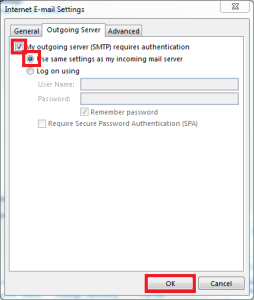
14) Check My outgoing server (SMTP) requires authentication, then click OK
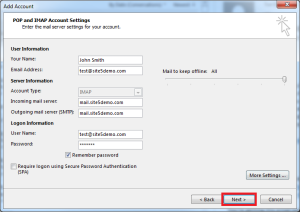
15) Click Next
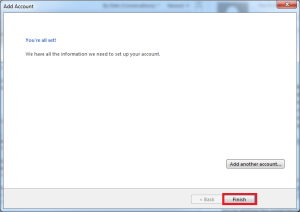
16) If the automated test comes back with green check-marks, you should see the following screen. If not, please contact our support team so that we can help you troubleshoot the issue.
That’s it!